


Okay, yes you read the article title correctly! You can really transform your kitchen countertops for under $30 with this easy DIY.
So, you may be asking how? I promise you it’s possible! It’s perfect if you are renting and cannot change the countertops or if you are like me and cannot stand your existing countertops and are looking for a budget friendly option for “replacing” your existing kitchen countertops.

So let me give you a little background. We bought out home almost two years ago now and the condition of the house was definitely not the best. Our kitchen was okay but it definitely needed some work. We painted our kitchen cabinets and installed new hardware and it already made the biggest difference.
We know, sooner then later we are going to do major work to our kitchen so installing any new cabinetry and countertops was not an option for us. So we were still stuck with these hideous 1960s countertops that literally looked awful. They have this pattern of like scotch tape that is being pulled up! Can anyone else relate?!
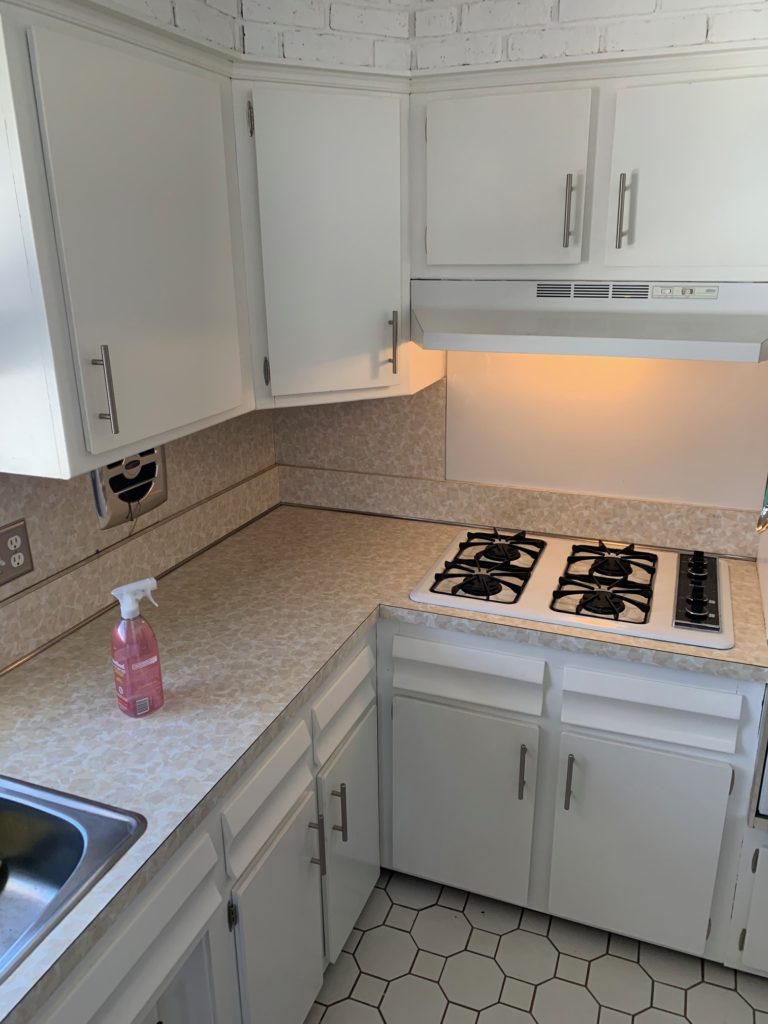
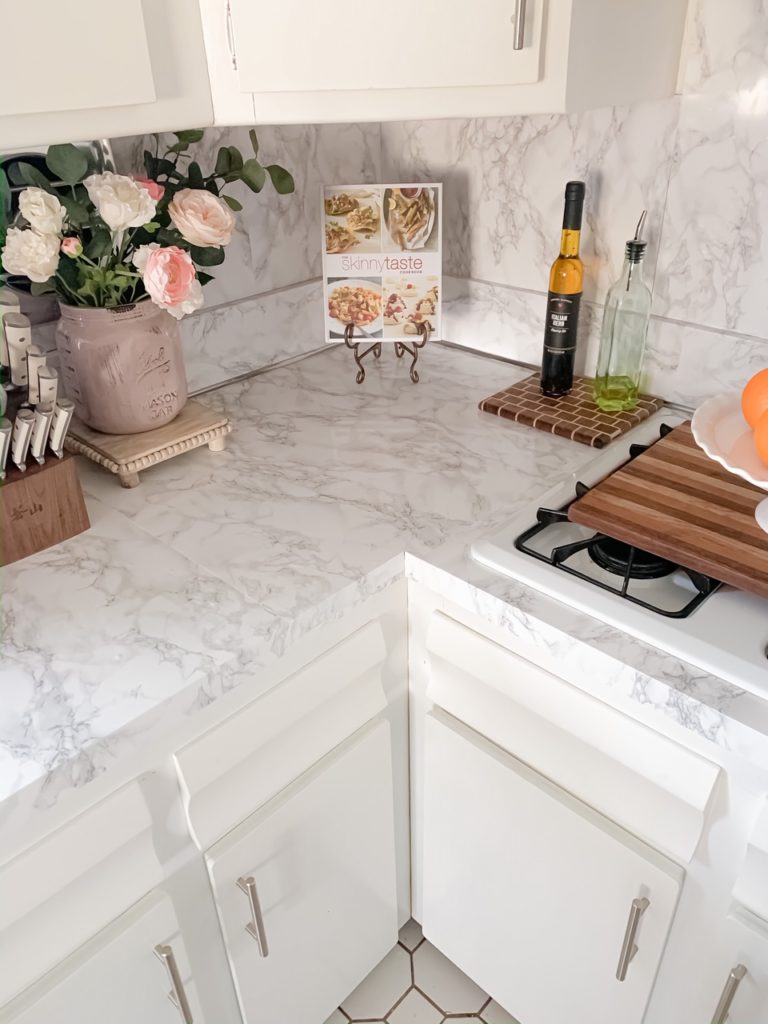
Do you love the look of marble?! Yes me too!! But did you know that the average cost of a marble countertop is $60 per square foot. So there was no point of putting down new countertops just to replace them AGAIN in the next 5 years. So I researching and I came across this Faux Marble contact paper. The reviews were great and peoples Before and After pictures were so great that I HAD to give this a try! What was the worst thing what would happen? I pulled them up!
So I ordered it along with this took which helps you cut around the sink, outlets and anywhere else you need to cut excess off . This tool is awesome and I highly recommend for this project.
Supplies Needed
- Marble Contact Paper
- Project Utility Tool
- Cleaning Supplies
- Scissors
- Credit Card
Directions
- When you receive your contact paper in the mail, unroll it completely holding down at the ends and let it sit overnight. This will make it easier to work with.
- Make sure you remove everything from the area you will be putting your contact paper on and ensure you clean the area. I used this cleaning product and went over it with rubbing alcohol.
- Start out with your first section, you want to make sure you always have the grain the same way because you will notice the pattern change which will look very unnatural especially for marble. I recommend to always go over the surface because you can always use the utility tool to cut off any edges.
- Keep repeating Step 3 until all the areas are covered. If you have any bubbles (I definitely had more than a few), you can make a small hole and let the air our but if the bubbles are very little I just left them alone as the marble pattern is good at hiding them.
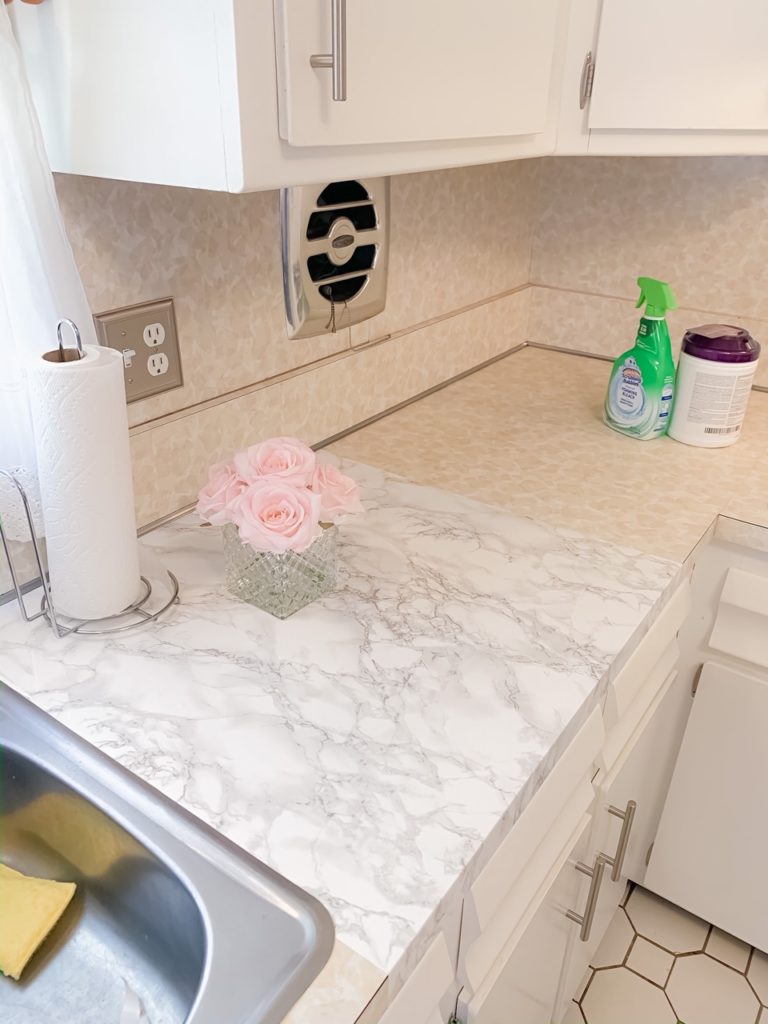
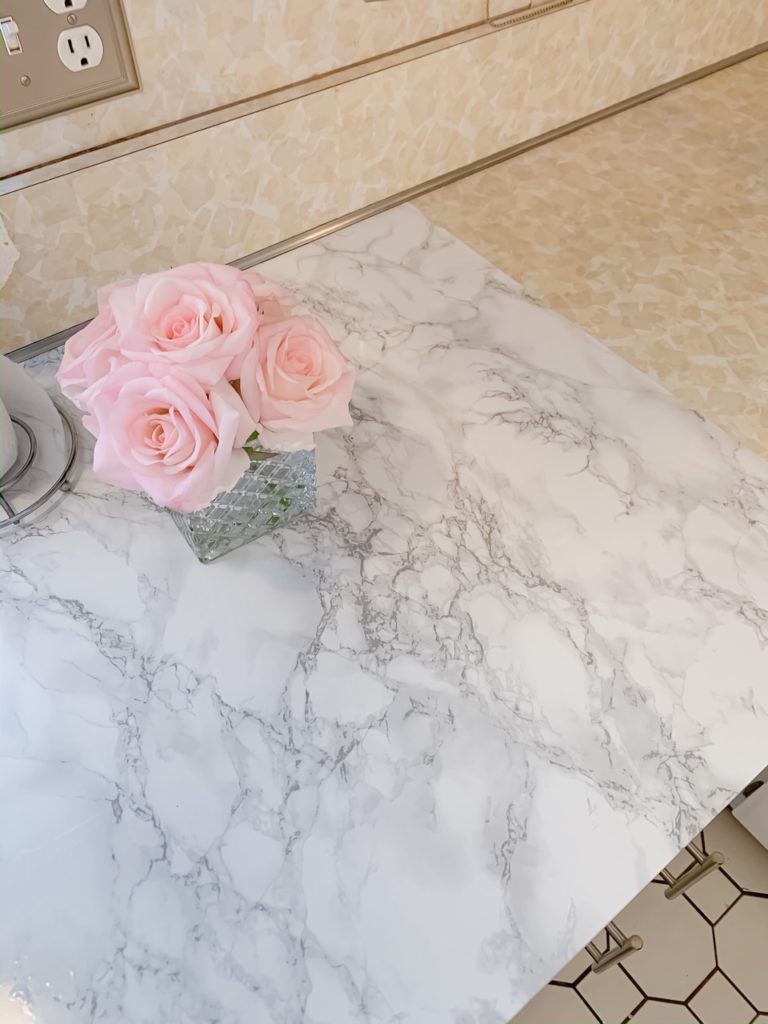
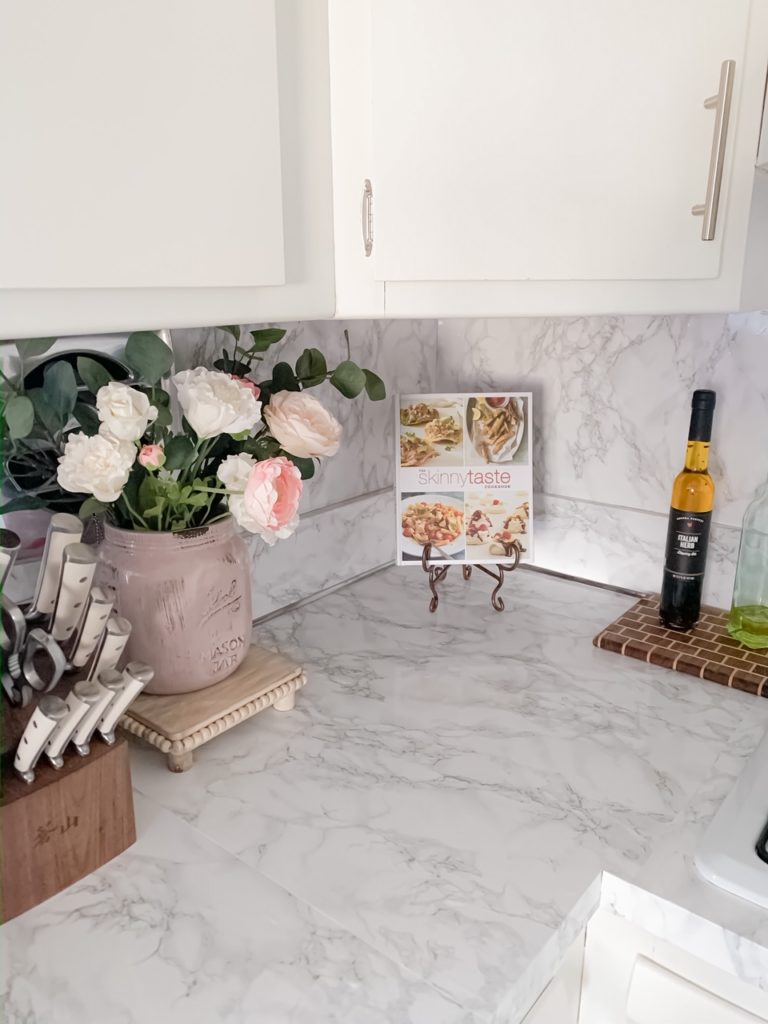
& here is the finished result! This project is such an easy DIY, the hardest part is laying down the contact paper and smoothing it out to achieve as little bubbles as possible.
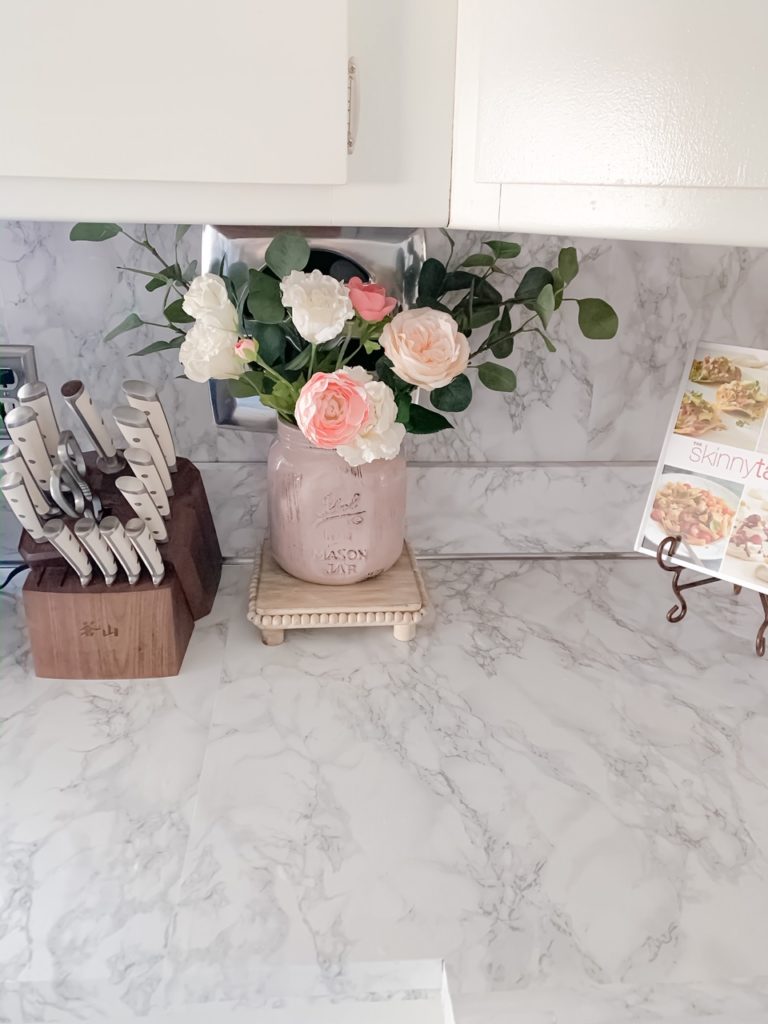
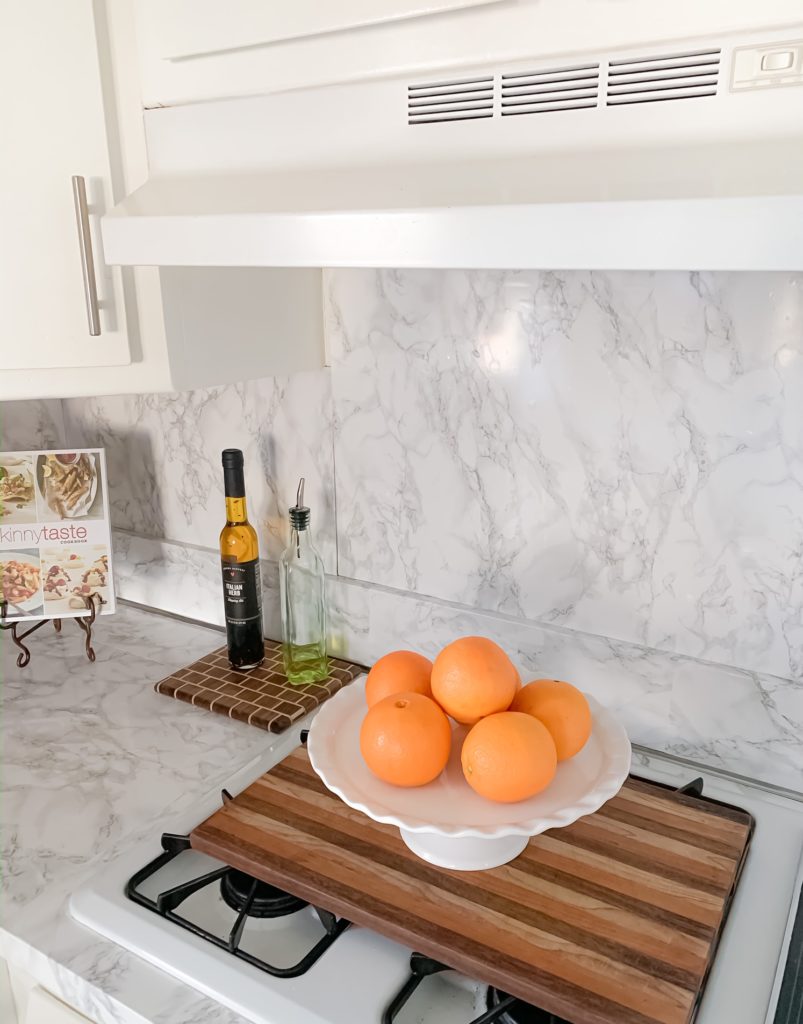
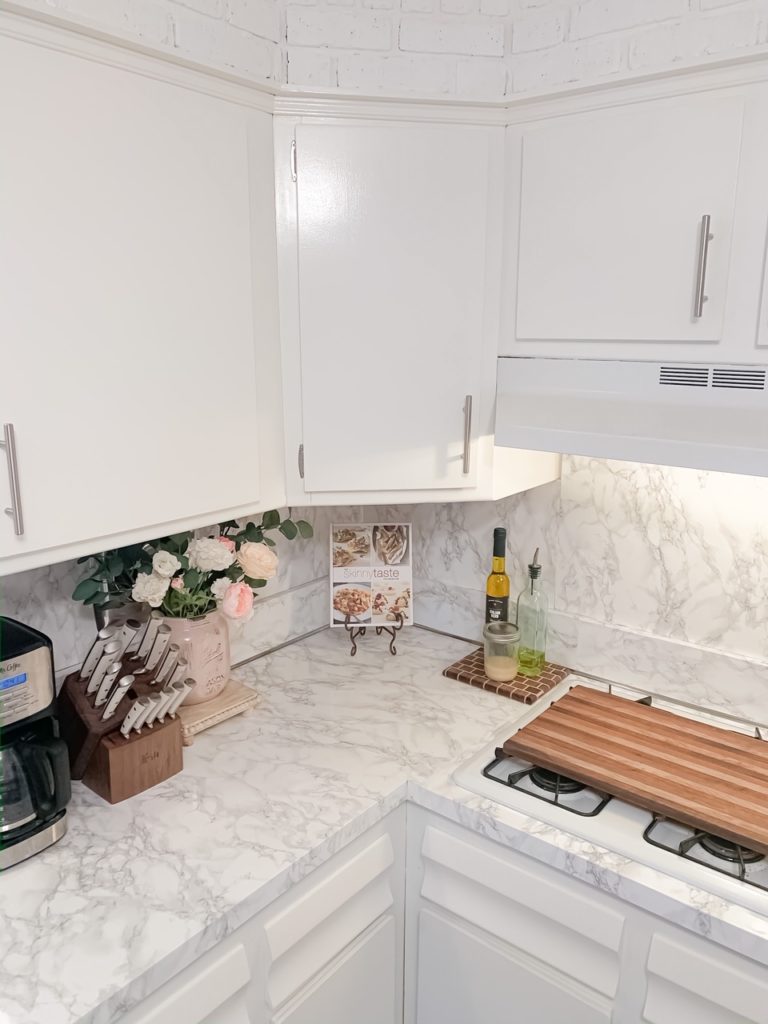
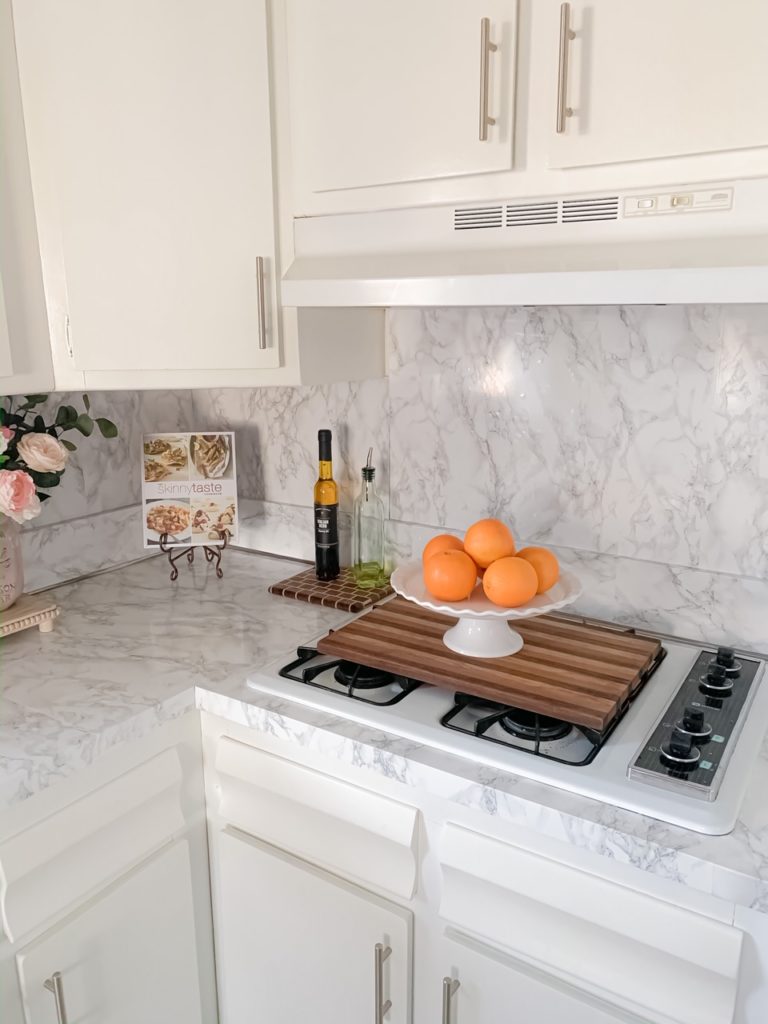
Overall, the finished look is AMAZING and I am glad I did this! Lets see how they hold up.
Let me know if you have any questions, I am always happy to help!


That transformation is amazing!
Thank you so much!
Your kitchen looks fantastic! This was about a year ago, so I would love to know how the countertops have held up. Would you give us an update with an honest review?
Thanks!
Thank you! They have honestly held up really well! Some minor wear and tear but I would have to really look at it close up to find the spots. Overall it’s still looking really good & we are really happy with the way it has held up! Hope that helps!
Hi! Did you not put a resin layer or sealer over the paper? Im so confused on how that would work without a sealer! They look great!!